Encountering a "404 URL Not Found" error can be frustrating when navigating your WordPress website.

This knowledge-based article provides a step-by-step guide to help you troubleshoot and fix the 404 error related to permalinks in WordPress.
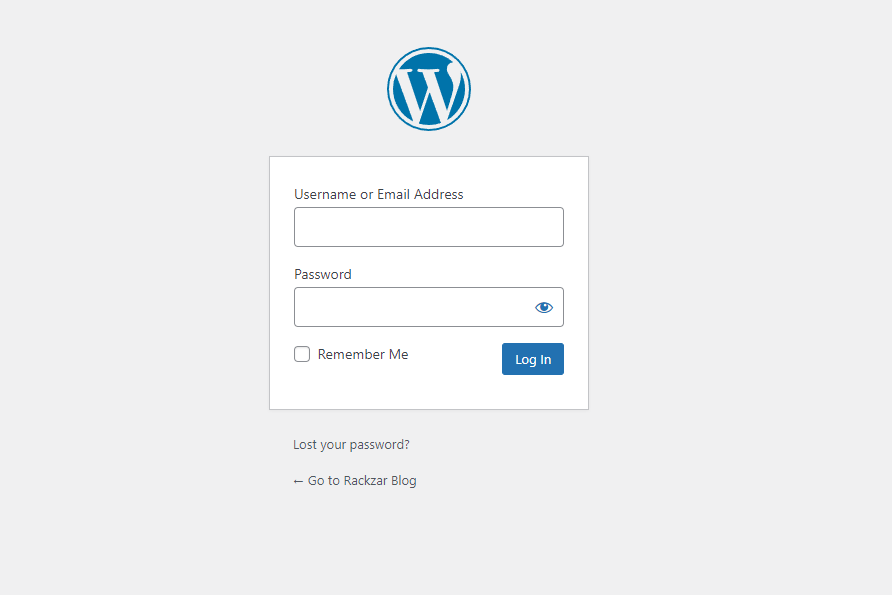
- Log in to your WordPress Admin Dashboard:
- Enter your website URL followed by "/wp-admin" (e.g., www.yourwebsite.com/wp-admin).
- Enter your username and password to access the admin area.

- Verify Permalink Settings:
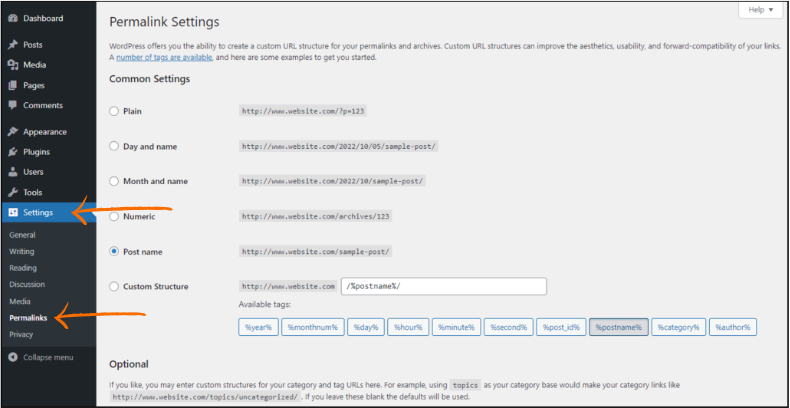
- From the left-hand menu, click on "Settings."
- Select "Permalinks" from the expanded menu.
- Note the current permalink structure selected on the Permalinks Settings page.

- Reset Permalink Settings:
- Change the permalink structure to the "Plain" option.
- Scroll down to the bottom of the page and click "Save Changes."
- Test Website:
- Visit different pages/posts on your website and check if the "404 URL Not Found" error persists.
- If the error is resolved with the "Plain" permalink structure, proceed to the next step. Otherwise, skip to step 6.
- Update Permalink Structure:
- Go back to the Permalinks Settings page.
- Select the desired permalink structure that suits your website.
- Scroll down and click "Save Changes."
- Check .htaccess File:
- Connect to your website using an FTP client or through the hosting control panel.
- Locate the .htaccess file in the root directory of your WordPress installation.
- Rename the file to something like ".htaccess_backup" to disable it temporarily.
- Regenerate .htaccess File:
- In your WordPress Admin Dashboard, go to "Settings" and select "Permalinks."
- Scroll down to the bottom of the page and click "Save Changes" again.
- WordPress will generate a new .htaccess file with the correct rewrite rules.
- Test Website Again:
- Visit different pages/posts on your website to ensure the "404 URL Not Found" error is resolved.
- If the error persists, continue to the next step.

