How do I increase the hard disk size of the virtual machine using a live CD
This guide assumes that you have already increased the virtual disk on the hypervisor, please complete this step before you continue.
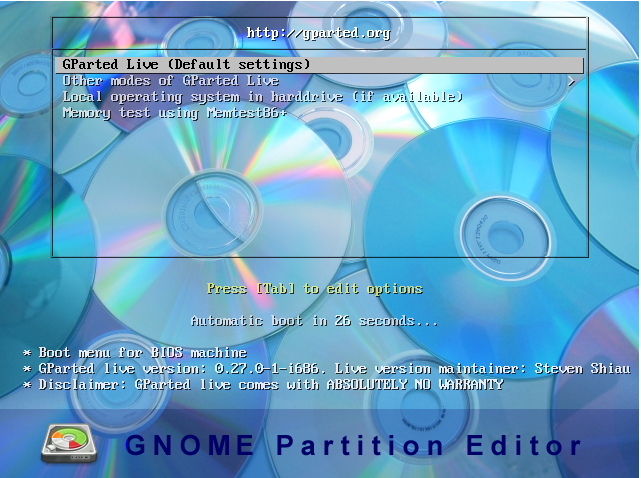
Step 1: Boot from gParted ISO
- Mount the gParted ISO file.
- Reboot your computer.
- When you see the gParted boot screen, press Enter to continue.
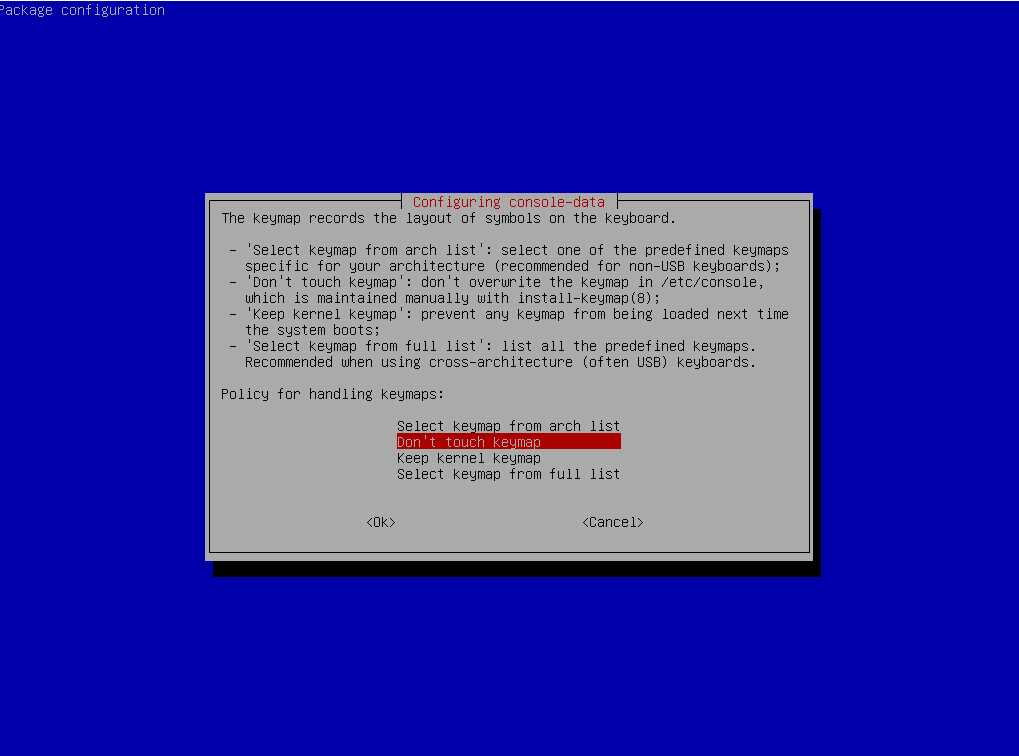
Step 2: Select Keymap
- After the boot process, you will see the keymap selection screen.
- Press Enter to accept the default keymap.
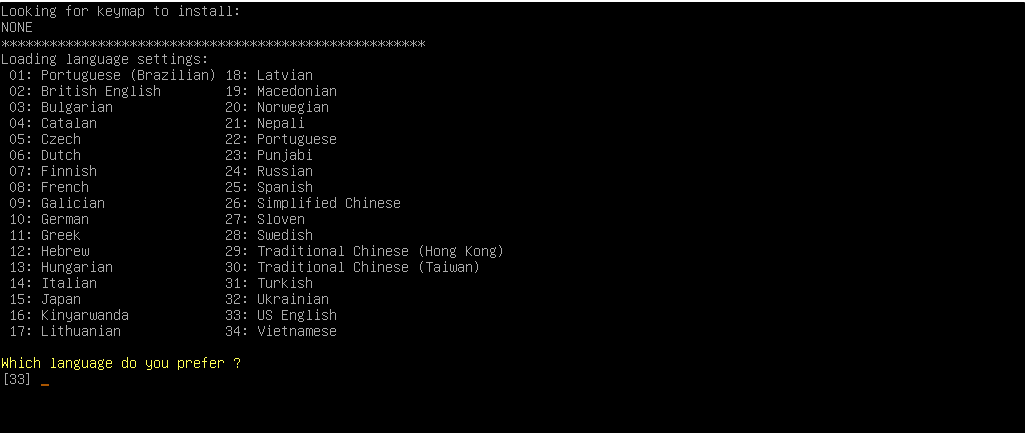
Step 3: Select Your Preferred Language
- You will be prompted to select your preferred language.
- Enter the corresponding number for your choice.
- To select US English, simply press Enter as it is the default option.
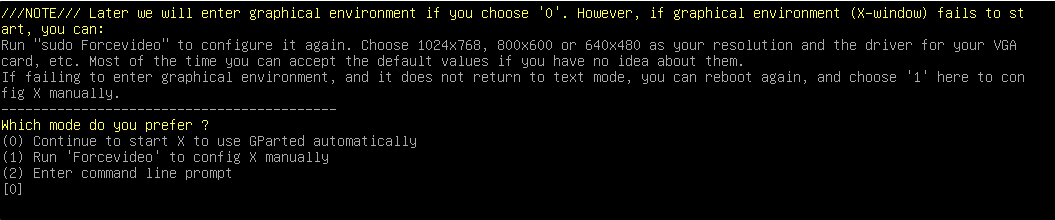
Step 4: Select Graphic Mode
- You will be prompted to choose a graphic mode.
- Enter the number corresponding to your preferred graphic mode (0 is the default).
- Press Enter to proceed with the default graphic mode, which works in most cases.
Starting the disk resize
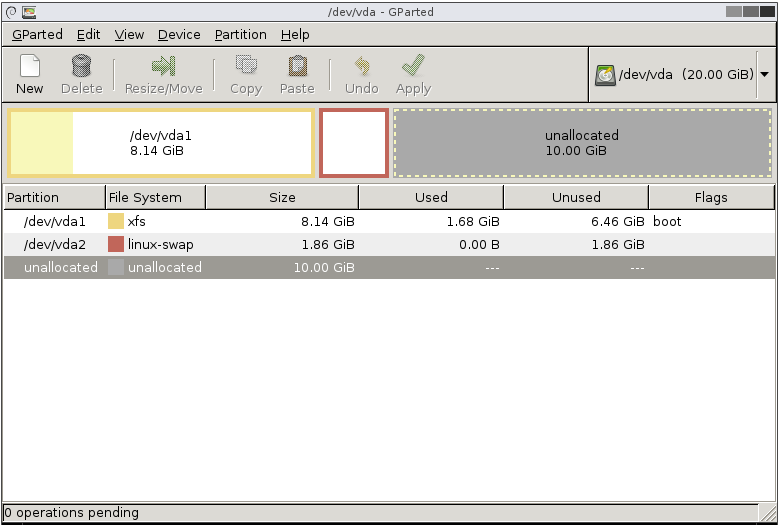
Step 5: Open gParted Application
- Launch the gParted application.
- Observe the main window where you should see the disk layout.
- Look for an unallocated partition if you have unused space available.
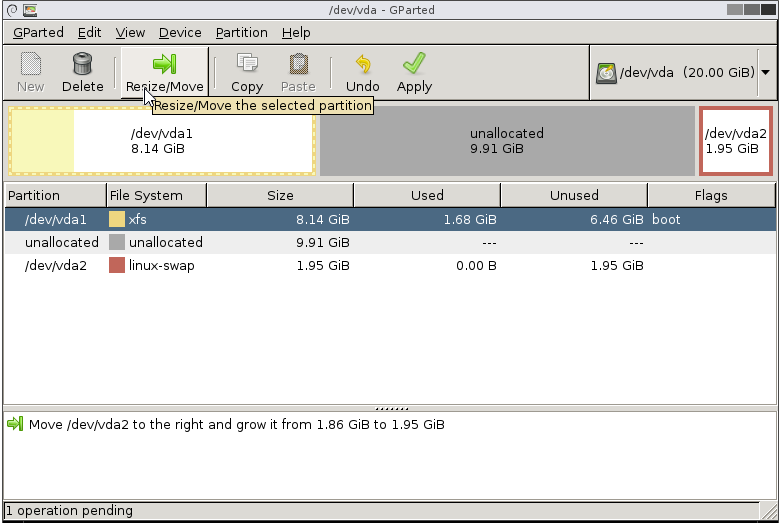
Step 6: Resize the Swap Partition
- Identify the size of the swap partition.
- Select the swap partition in gParted.
- Choose the Resize/Move option.
- Adjust the size to create unused space that will be added to the primary partition.
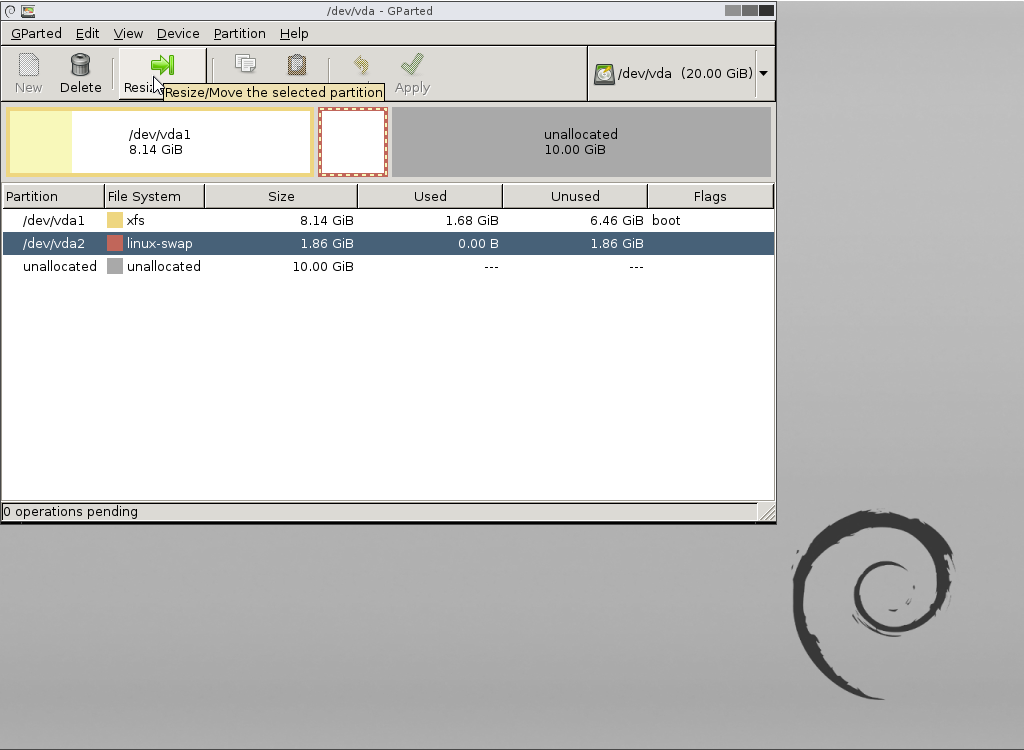
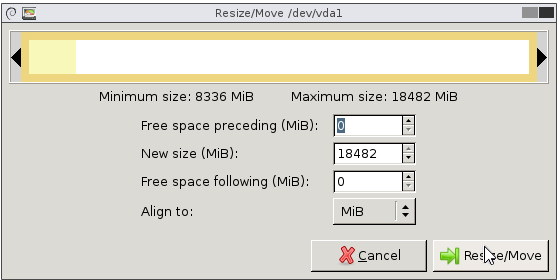
Step 7: Resize the Partition
- Select the partition you want to resize.
- Click on the Resize/Move option from the toolbar.
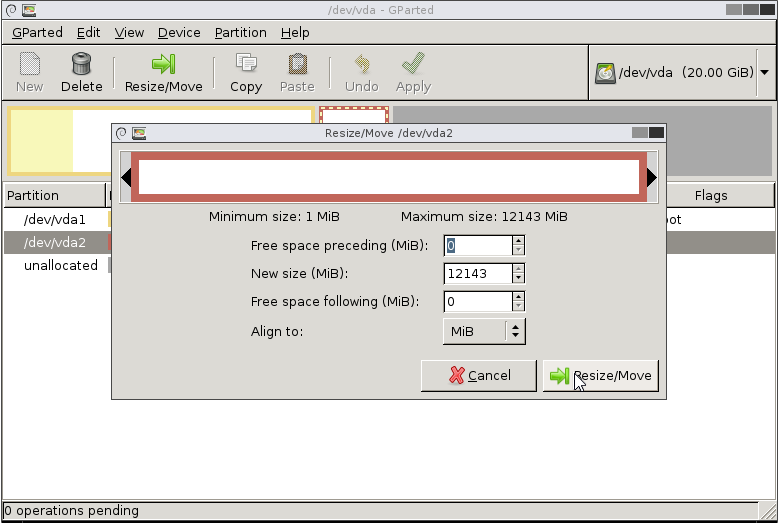
- In the resize window that appears, drag the right arrow all the way to the right.
- Click the Resize/Move button to apply the changes.
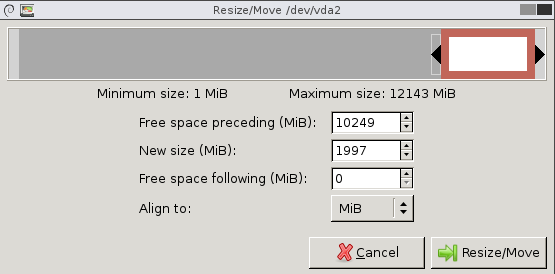
Step 8: Resize the Swap Partition Again
- This step will turn the added space back into unallocated space.
- Select the swap partition in gParted.
- Choose the Resize/Move option.
- Adjust the slider to the left, returning the swap partition to its original size (1.86 GiB or 1997 MiB).
- Click the Resize button once you’ve made the adjustment
Step 9: Resize the First Partition
- Select the first partition in gParted.
- Click on the Resize/Move option.
- Adjust the partition size to incorporate the extra unallocated space.
- Click the Resize button to apply the changes.
Step 10: Expand the First Partition
- Select the first partition if it isn’t already selected.
- Drag the right arrow slider all the way to the right to include all unallocated disk space.
- Click the Resize button to apply the changes.
Step 11: Apply Changes and Exit
- Click the Apply button to execute the changes.
- Wait for the process to complete.
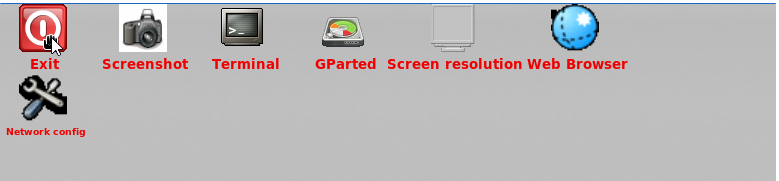
- Close the gParted window.
- Double-click the EXIT icon to exit gParted.
- Reboot your system.
Step 12: Finalize Reboot
- When prompted, press Enter to complete the reboot process.
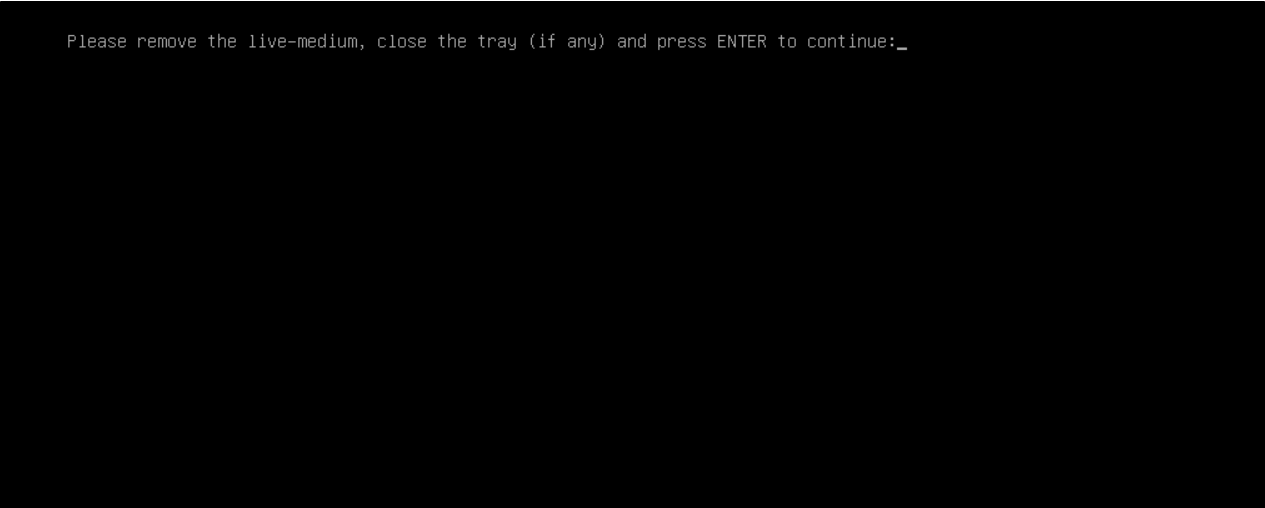
Step 13: Unmount the ISO
- Unmount the gParted ISO from your system.
- Wait for the unmount process to complete.
- Once finished, press any key to continue.
- You will see the message: Done! Disk Resize complete.