cPanel : How to set up Office 365
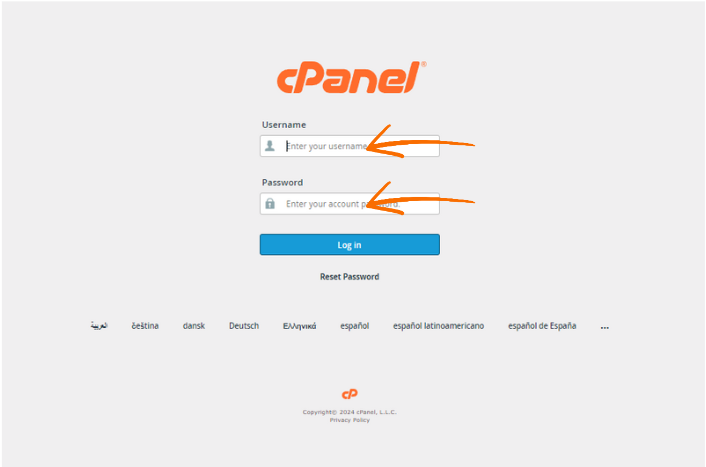
Step 1: Sign in to cPanel
Step 2: Navigate to "Zone Editor" under the Email menu.
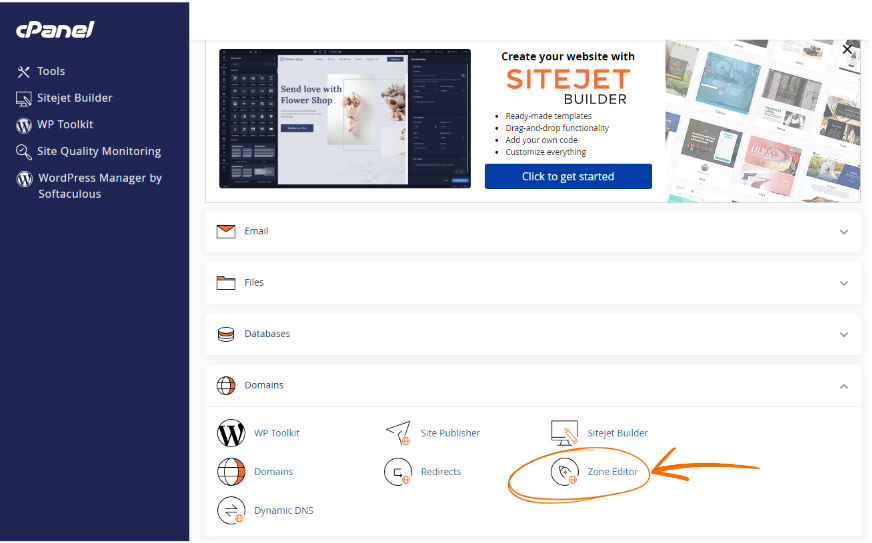
Step 3: Click on "Manage" for the appropriate domain

- To add a new record, choose the record type from the drop-down menu, then enter the record's name, TTL, and destination.
Step 4: Configure DNS for Office 365 by clicking on "Add Record".
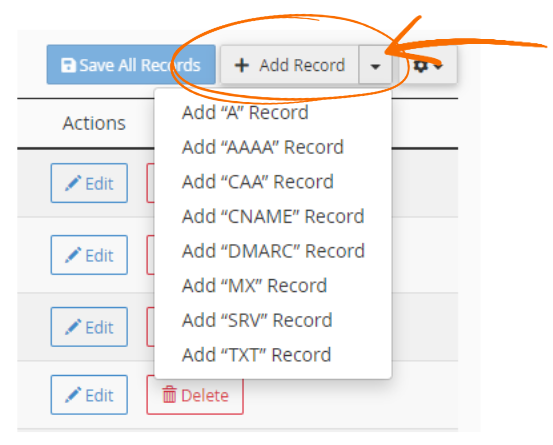
- To configure Microsoft Office 365, add or update the following DNS records for the relevant domain(s):