The following instructions will guide you through the CSR generation process on Microsoft IIS 8.
Click Start, Control Panel, System and Security, Administrative Tools, and then select Internet Information Services (IIS) Manager.
In the left Connections menu, select the server name (host) where you want to generate the request.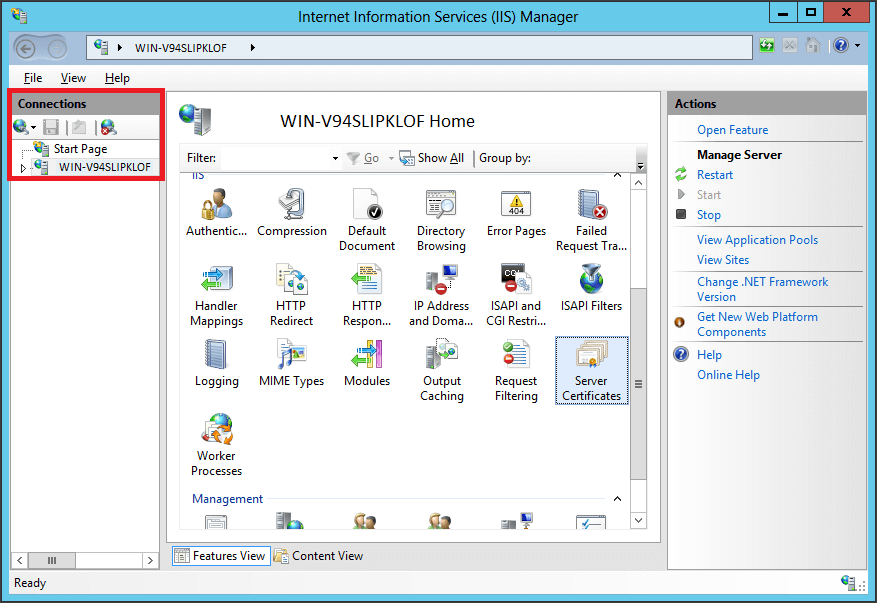
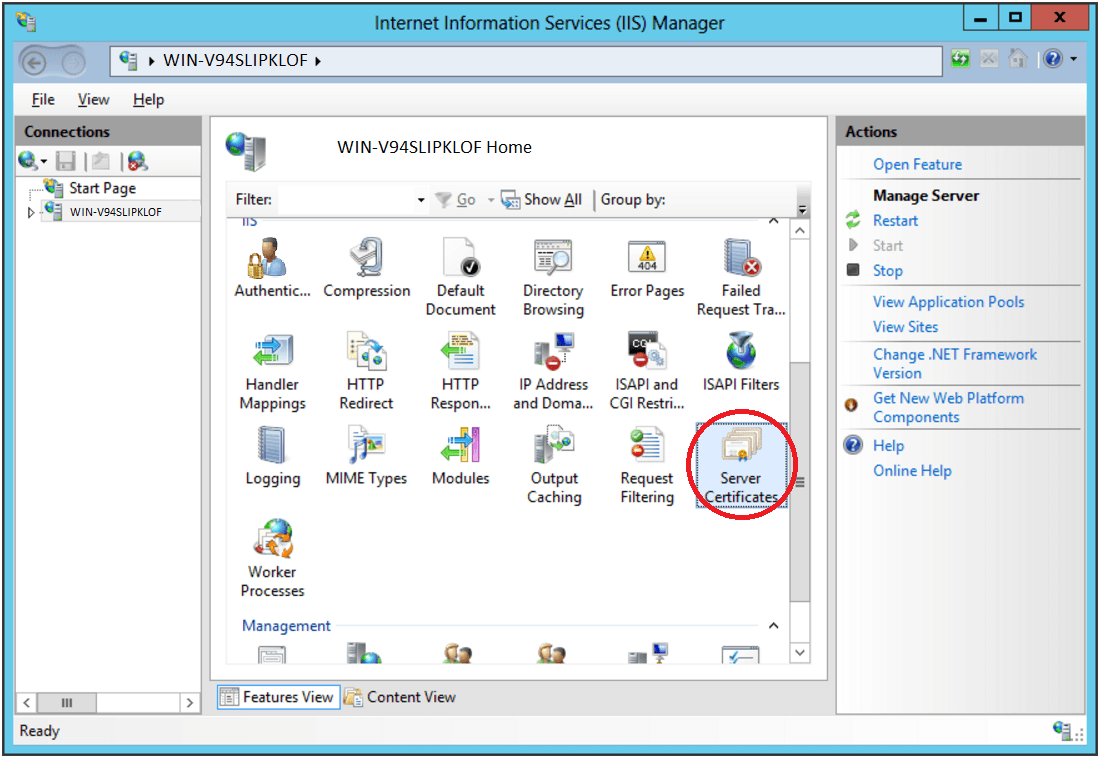
In the center menu, click the Server Certificates icon under the Security section near the bottom.
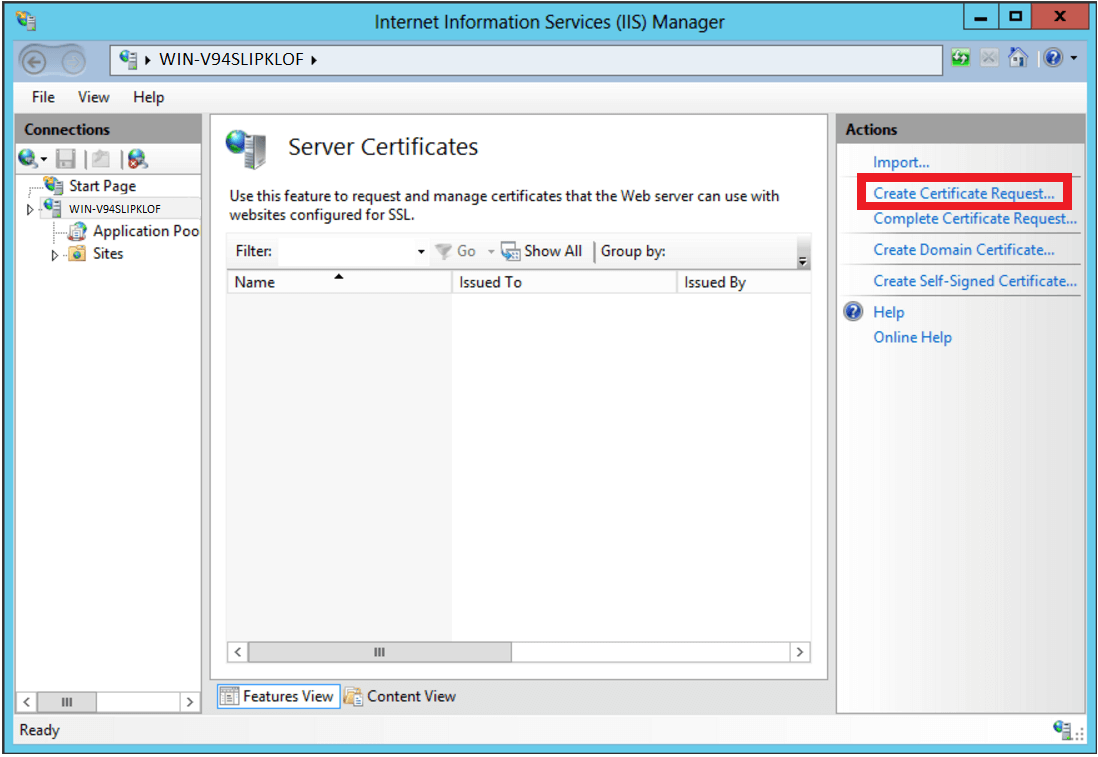
In the right Actions menu, click Create Certificate Request.
In the Distinguished Name Properties window, enter in the required CSR details and then click Next.
It is important to use the correct Common name, this is what you are requesting the SSL for.
Should you wish to purchase a SSL for example.co.za then input this, no not include the www.
other valid examples are server.example.co.za, mail.example.co.za etc.
In the Cryptographic Service Provider Properties window, select Microsoft RSA SChannel Cryptographic Provider and Bit Length of 2048, then click Next.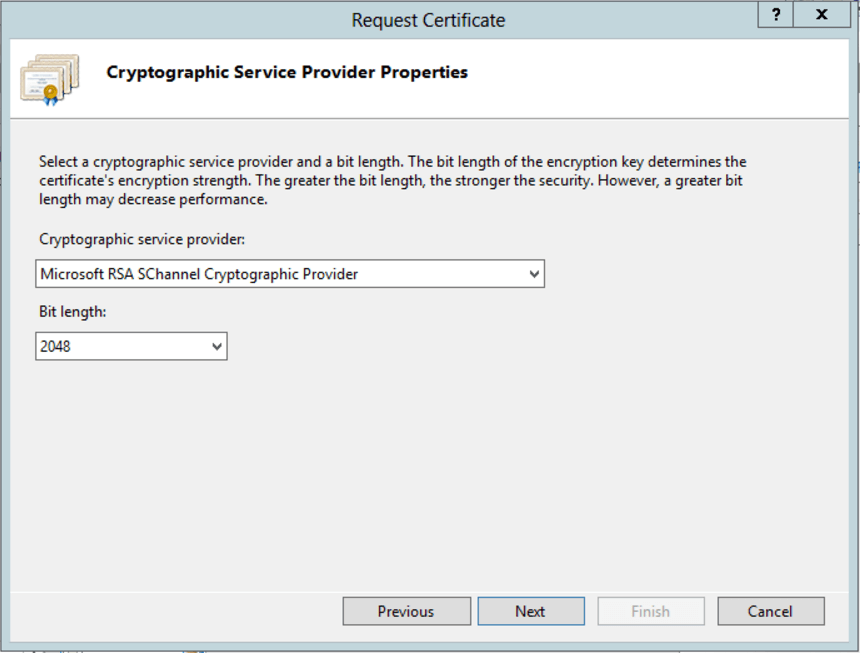
Note: Bit Length: 2048 is the current industry standard. You may choose a larger key size, but only if you have a requirement to do so, as longer key lengths increase latency and may reduce compatibility.
Click Browse to specify the location where you want to save the CSR as a “.txt” file and click Finish.
Locate and open the newly created CSR from the specified location you choose in a text editor such as Notepad and copy all the text including:
-----BEGIN CERTIFICATE REQUEST-----
SSL DATA
SSL DATA
SSL DATA
SSL DATA
SSL DATA
SSL DATA
SSL DATA
SSL DATA
-----END CERTIFICATE REQUEST-----
Return to the Generation Form on our website and paste the entire CSR into the blank text box and continue with completing the generation process.
Upon generating your CSR, your order will enter the validation process with the issuing Certificate Authority (CA) and require the certificate requester to complete some form of validation depending on the certificate purchased
