How to Mange a VPS Firewall with Rackzar
Step 1: Access Your VPS Dashboard
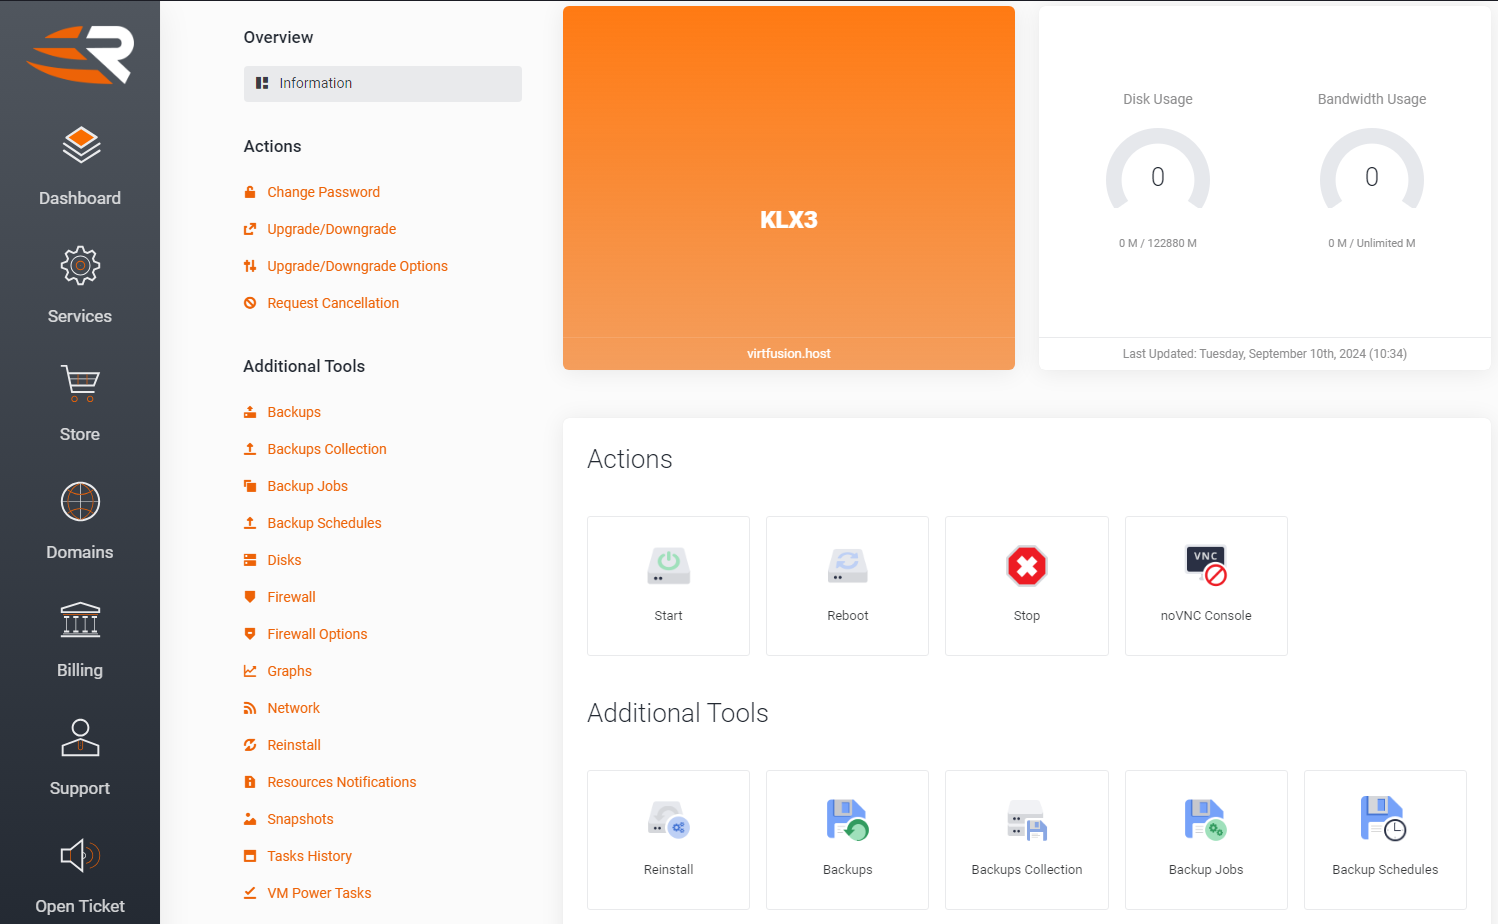
- Once logged in, locate the Services tab or section, which lists your active services.
- Find the VPS you want to manage and click on it to access the VPS details page.
- You should now see the VPS control panel, which includes options like "Start," "Reboot," "Console," and others.
Step 2: Enable or Disable the Firewall
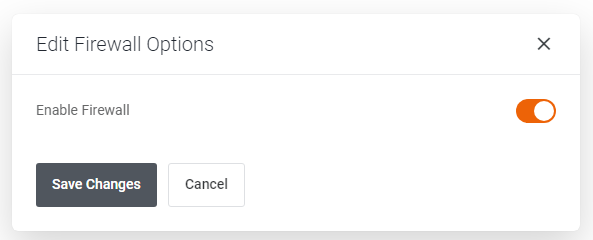
- Within the VPS control panel, locate and click on the Firewall Options tab. Click on the pencil icon to edit.

2. You’ll see an option to Enable Firewall. Click on this to activate the firewall for your VPS, and then click on Save Changes.
Step 3: Access the Firewall Settings
-
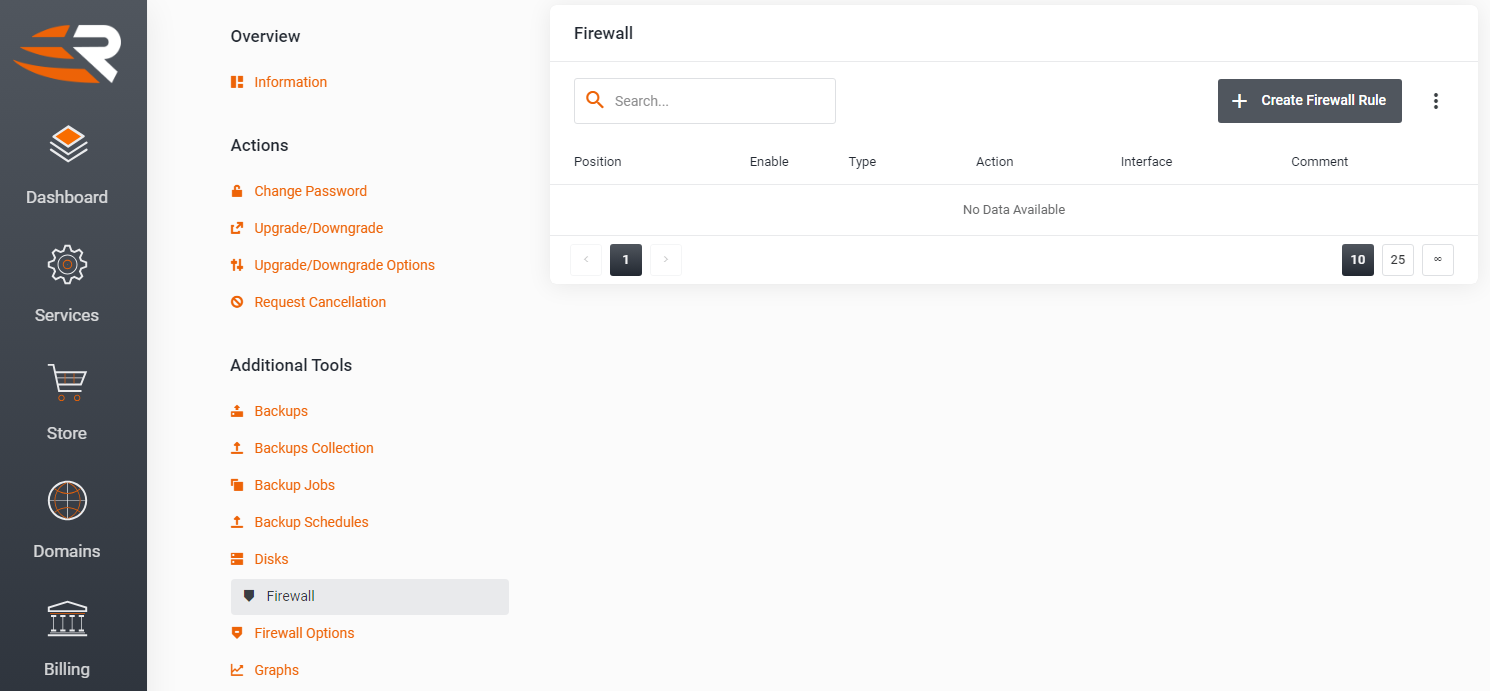
Within the VPS control panel, locate and click on the Firewall tab. This will bring you to the firewall management interface.
Step 4: Add Firewall Rules
- Click on the Create Firewall Rule button to create a new firewall rule.
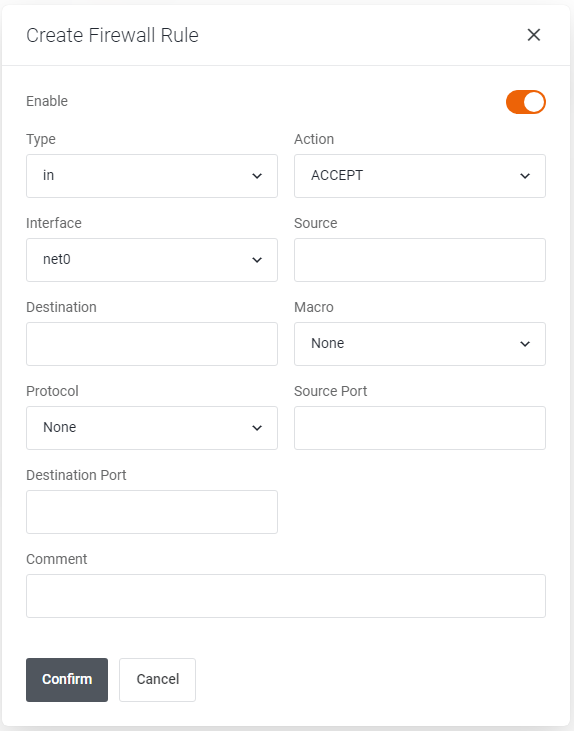
- Fill in the details for the rule:
- Type: Choose whether the rule applies to incoming (in) or outgoing (out) traffic.
- Action: Set the action to either ACCEPT (allow traffic) or DROP/REJECT (block traffic).
- Interface: Network Interface rule should be applied to.
- Protocol: Choose the protocol (TCP, UDP, ICMP, etc.) for which the rule will apply.
- Source/Destination: Specify the source IP range and destination port range for the traffic.
- Comment: Add a description for the rule to help identify it later.
- Click Confirm to save the rule.
Step 5: Testing the Firewall
- After setting up or modifying your firewall rules, it’s a good idea to test the configuration to ensure it’s working as expected.
- Try connecting to your VPS using SSH or other services (depending on the rules you’ve set) to confirm the traffic is being properly allowed or blocked.
- You can also use a online port scanner to check that all required ports are no longer public. pentest-tools.com
Step 6: Contact Support if Needed
If you encounter any issues while managing your VPS firewall or if you need further assistance, don't hesitate to submit a support ticket for additional help.